0 Cart
Added to Cart
    You have items in your cart
    You have 1 item in your cart
    Total
    Check Out Continue Shopping

    Save Those Pumpkin Seeds For an Amazing Treat!

    Save Those Pumpkin Seeds For an Amazing Treat!

    Making a pumpkin pie for Thanksgiving?  If so, please consider using a real pumpkin.  If you have never done it, it reallyis simple.  Cut the small, sugar pumpkin in half, removing the seeds and stringy guts, place face down on a baking sheet and bake on 350 until the meat is tender.  Let cool and remove the pumpkin from the skin, mash up and voila!  You have pumpkin!  

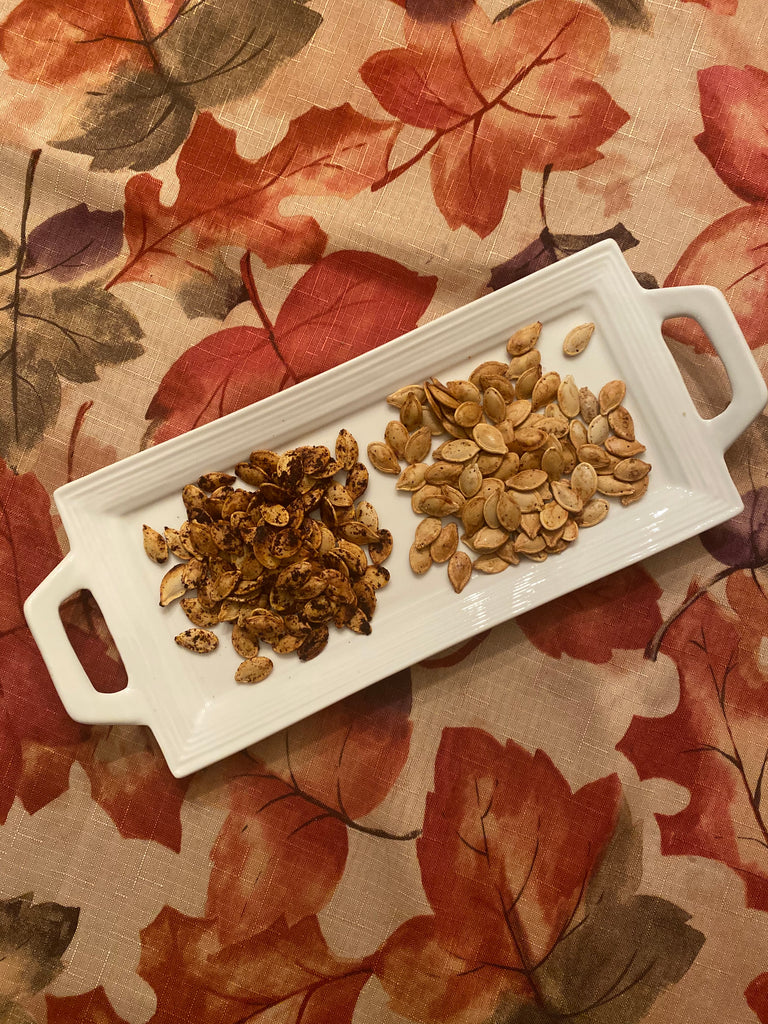
    The great part is that you have the seeds!  I toasted pumpkin seeds the other day and they were delicious and they are nutritious!  First, rinse any pumpkin guts off of them using a strainer.  Lay out on a dry towel and pat dry.  I made two different flavors, however, there are endless possibilities for variety!  I will give you the recipe for my sea salt/black pepper and my chili lime but experiment with what sounds good to you!

    Add 1-2 tsp of olive oil, Sea Salt to taste and black pepper to taste 

    Mix and put on baking sheet lined with parchment.  Bake 350 degrees until toasty brown.

    For the chili lime, I used 1-2 tsp olive oil, chili seasoning to taste, salt

    Bake 350 degrees until toasty brown, remove and drizzle with fresh lime juice.  

    These must be put back in the oven for about 10 minutes to dry them out.  I let mine sit out on the counter after they were done baking for a couple hours just to be sure they were good and dry so they would store properly.  The problem is that we ate them and didn't have any to store!

    Other ideas for flavor:

    Rosemary and lemon zest

    Toasted with salt and after baking drizzled in chocolate

    Italian herbs

    Sugar and Cinnamon


    Bon Appetit!

    Julie Atkins

    Milkweed Farms

    Easiest and Best Salsa Ever!

    Easiest and Best Salsa Ever!

    Best Salsa Ever!  It is Oh So Easy!

    The method that I use requires an immersion blender.  If you don't have one, I would suggest that you get one.  It will become your favorite kitchen tool ever! If you don't have the basic canning supplies, I have put a link at the bottom of the things that I use to can my salsa!

    Quarter up large tomatoes and onions and put in a roasting pan.  Small tomatoes such a cherries can be placed in whole.  Cut jalapenos in half, leaving seeds in if you like it hot!  I actually add lots of peppers, using whatever kind I have including sweet peppers because the flavor that it creates is out of this world!  You can use whatever you have available. Roast the veggies on 425 until the tips of the onions turn brown.  This will draw out the excess water in the tomatoes and will make the salsa thicker.  Next, fill a ramekin with chopped garlic.  I use about 7 or 8 tablespoons, however, I am a garlic-a-holic so use whatever suits your taste!  Put the ramekin in the oven and roast the garlic along with the veggies.  While these are cooking grab a couple batches of fresh cilantro and process in food processor.  When the veggies are finished roasting, use a slotted spoon to remove them and add them to a Dutch oven, leaving them whole.  Not having to dice the veggies makes this the simplest recipe ever!   Add the roasted garlic, about 1/4-1/2 cup apple cider vinegar, salt and chili powder to taste. Throw in that cilantro that you processed and start to heat up the sauce. Next, just use your immersion blender and start to blend up your salsa.  You can make it as smooth or chunky as you like.  My family prefers smooth, much like restaurant salsa.  

    If you choose to hot water can your salsa, you need to prepare your jars by sanitizing them.  I keep a pan of hot water with my jars and lids in it.  Fill your jar canner with water and bring to a boil.  When your salsa reaches a slow boil, ladle it in the jars, being careful to wipe off the tops so that the lids will get a good seal.  Top the jars with hot lids and rings and process in a hot water bath for 15 minutes.  Remove the jars and let cool.  My favorite sound is the sound of popping as my jars cool and the lids seal!

    I hope that you like this recipe!   Let me know what you think!  

     Canning supplies that I consider must-haves!

    Immersion Blender, Canning Tongs, Magnetic Lid Wand

    Julie Atkins

    Milkweed Farms

    The above links are affiliate links which means that I may get compensated when you purchase any of the products through these links.  I only recommend products that I use myself and feel good about recommending to you!  Thanks so much for your support!

    Just Try This! You are Gonna Love it!

    Just Try This!  You are Gonna Love it!

    I have to admit, I was rather skeptical when I heard about avocado toast.  Having never tried it, I decided to make it and vary it a bit!  Turns out.......I love it and I have been eating it twice a week.  It works for breakfast, lunch or dinner!  The added plus is that my finger nails which have always been paper thin have gotten stronger and my hair is stronger too!  

    If you have never tried avocado toast, I want to challenge you to give this recipe a try.  I am really glad I did!  You can add your own variations, but here is how my family likes it.....

    Slice of Sour Dough bread, toasted (buttered if you prefer)

    1 avocado, mashed with salt, pepper, garlic powder and a pinch of cayenne pepper

    1 egg, cooked to your liking

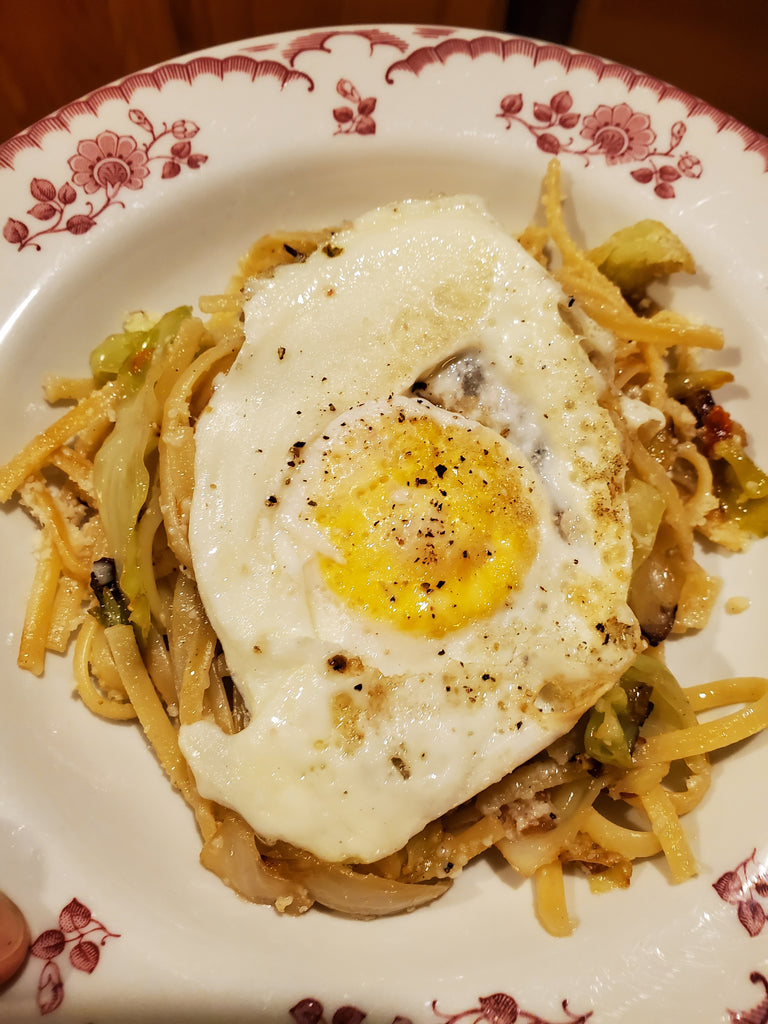
    Start with the toast and generously smear on the avocado and top with the egg.  I have two eggs on the one in my picture, but honestly, it is very filling and most of the time, I just use one. 

    Deliciously inspiring the Well-Lived Home,

    Julie Atkins

    Milkweed Farms

    Roasted Beet and Goat Cheese Salad

    Roasted Beet and Goat Cheese Salad

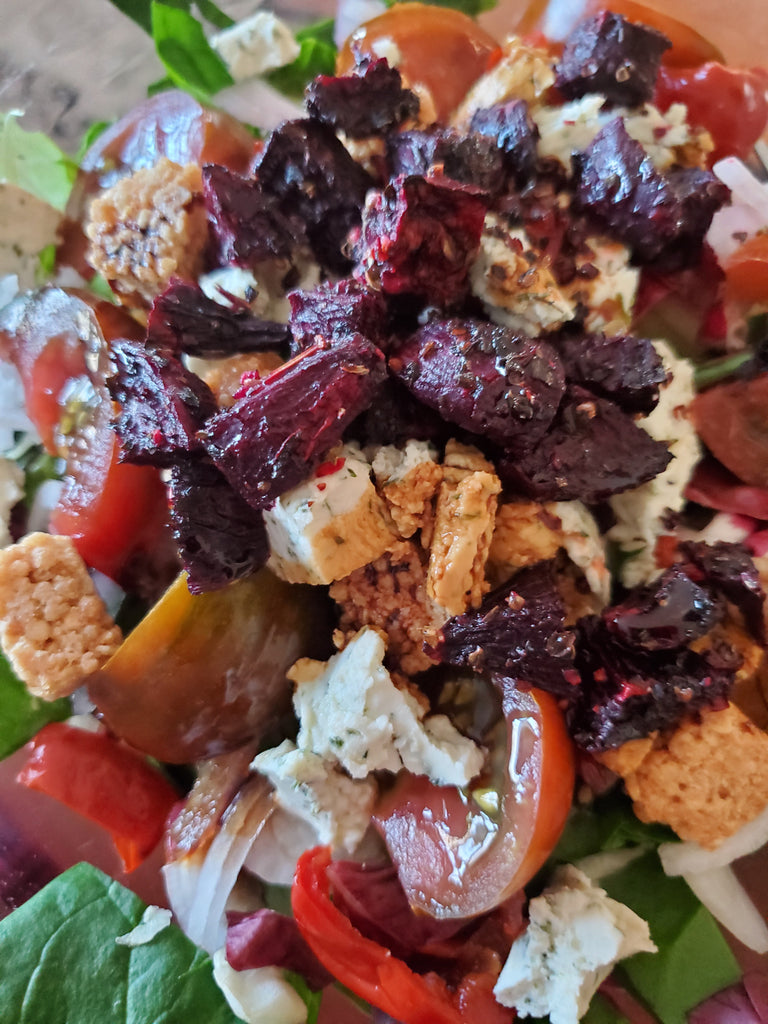
    Winter is coming to a close, Spring is about upon us and that makes me hungry for some delicious green salads!  One of my very favorite is roasted beet with goat cheese salad.  If you haven't tried this, I want to encourage you to give it a try.  I don't use croutons and am avoiding gluten at the moment, so I tried these great little croutons made from quinoa and I love them!  I will list the ingredients below that I added to my salad as well as how I prepared my roasted beets.  Try mixing up your greens to get a healthy balance of vitamins.  I used spinach, kale, and spring mix.


    Mix of salad greens of your choice, 4 cups

    1/2 thinly sliced red onion

    1/2 thinly sliced red pepper

    1/2 cup cherry tomatoes, sliced in half

    1/2 small log of goat cheese, plain or herb crusted

    4 small beets, diced

    Mix greens, onion, red pepper and chunks of goat cheese.

    Toss diced beets in 1 tbsp olive oil and sprinkle with salt, pepper and Italian herbs and minced garlic

    Roast beets in 400 degree oven until soft and browned on the edges.  Remove and let cool down for about 5 min and sprinkle over the salad. 

    Add croutons and dressing of choice.  I prefer a raspberry vinaigrette with this combo but any flavor will be delicious!

    Bon Appetit!

    Julie Atkins

    Milkweed Farms

    Do You Have Your Basil Seeds?

    Do You Have Your Basil Seeds?

    Last year, I posted a blog on growing basil around your house.  In flower beds, in pots, anywhere works!  It is beautiful and there are so many wonderful varieties, each one having a different but wonderful taste.  Each variety has a distinctive look, many of which are beautiful in cut flower arrangements that leave a lovely scent in the air!  I am so passionate about growing basil and that is why I encourage everyone to get their seeds and get ready to pop them in a flower pot as soon as the last danger of frost is behind us.

    If you have never grown basil, please do yourself a favor and order a few different varieties of seeds and give it a try.  You will love it this summer!

    I order my seeds from Baker Creek Seeds and they have a wonderful variety to choose from. You can click on the link if you want to check them out.  I have no affiliation with them other than I just love their seeds and the variety that they have. That being said, there are many places that carry basil seeds.  In order to get some of the more gourmet varieties, you will most likely need to order from a seed seller such as Baker Creek.  I am not gonna lie to ya!  I grow about 10 different varieties every summer and I can't wait to start my seedlings for this Spring.  

    A few of my favorites are:

    Holy Basil-Is a beautiful plant and can be used to make a wonderful tea.  Holy Basil is known for its medicinal purposes in many countries.  I grew it around my tomatoes last year.

    Thai Sweet Basil

    Has a wonderful flavor. Is used in a lot of Thai dishes.  Can be dried and saved for winter use as well.  Has beautiful flowery stalks that can be added to cut flowers.

    Cardinal Basil

    Has a slight licorice taste.  I use it in pastas and I love to pick the heads for bouquets!  It leaves such a sweet fragrance in the house!

    Cinnamon Basil

    Named for the cinnamon like flavor that it gives off.  I also use this one in pastas and Italian food.  It is a pretty plant and has a limey green color and is easy to grow!

    Genovese Sweet Basil

    This is the most common sweet basil that most people think about when they think about basil.  It is truly sweet and has large green leaves and has the Italian flavor that everyone loves!

    Dark Opal Basil

    This is probably my favorite!  I grow it for use in cooking, but it is so very beautiful that every year, I just fill a large pot with it on my patio.  Please give this one a try!

    Inspiring the Well-Lived Home in a culinary way,

    Julie Atkins