0 Cart
Added to Cart
    You have items in your cart
    You have 1 item in your cart
    Total
    Check Out Continue Shopping

    How to Make Fire Cider

    How to Make Fire Cider

    One of my 3 favorite go-to's for the cold and flu season is Fire Cider!  If you have never tried it, you will want to whip up a batch.  It is simple, easy and you most likey have some of the ingredients on hand or in the garden.  If not, a simple trip to your local organic market will provide everything that you need! 

    At the first sniffle or hint of a sore throat, I take a shot of this and I love its immune boosting power!  It doesn't take much time and you won't be sorry that you tried it!


    All ingredients should be organic

    Fire Cider Recipe

    Organic Raw Apple Cider Vinegar

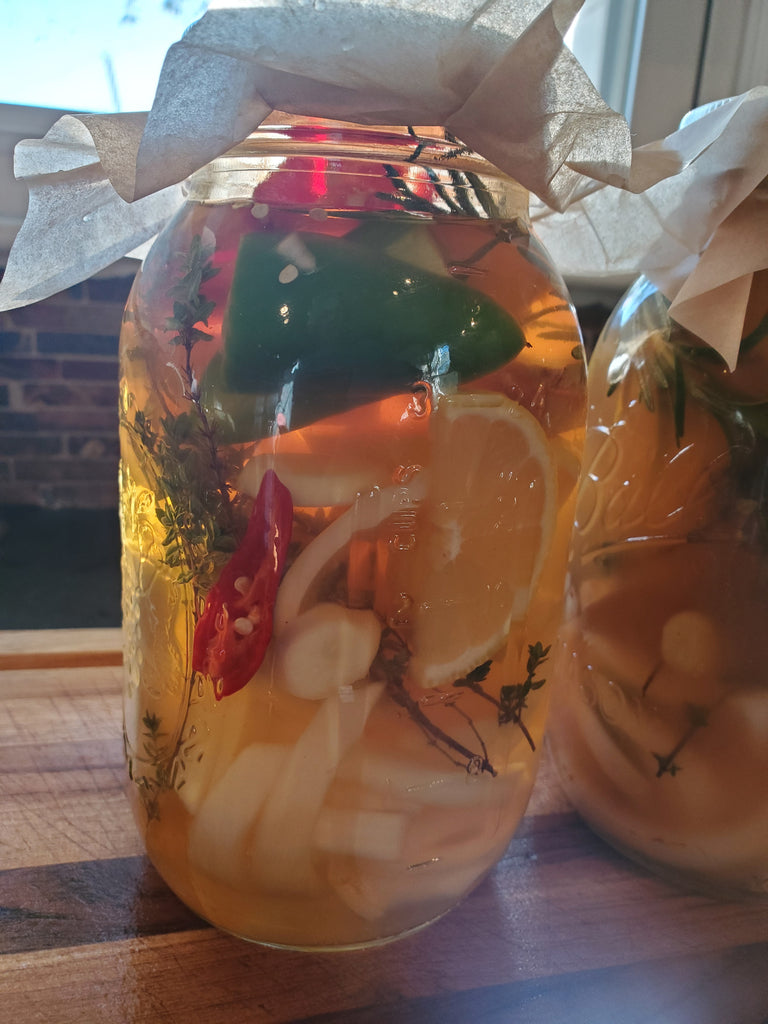
    Citrus fruit (I used lemons here.  Oranges are nice as well)

    Sliced Onion (doesn't matter what color)

    Sliced Hot peppers ( I like jalapeno but I also added a cayenne.  Just use what you have)

    Organic ginger slices

    Organic Garlic Cloves (I slice up 2-3 per quart)

    Organic Horseradish Root, grated or chopped (This explodes the immune boosting power)

    Herbs of your choice ( I like Rosemary and Thyme)

    Optional other ingredients:

    Tumeric, lime, apples, oranges and a host of other herbs including holy basil

    Cut up all ingredients and place in a quart jar and fill with the apple cider vinegar.  Use a piece of parchment paper on top of the jar before capping it off in order to prevent the vinegar from erroding the metal from the lid.  Allow your jar to sit for at least 1 month, but more is better and the vinegar acts as a solvent to pull out all of the goodness from the fruits, herbs and veggies!  Once you decide it is time, strain all of the fruits, herbs and veggies out and add honey to taste!  Place in a bottle on your shelf and wait for that first tickle in your throat and have a shot!  This will sit on your shelp indefinitely but don't let it.....drink it and make more!


    Place

    How to Store your drinking Water

    How to Store your drinking Water

    Do you have drinking water on hand?  If you don't, please consider having some in case of an emergency!  Here is how I store drinking water and it is so simple, easy and you don't have to worry about microplastics leaching into your water.

    Even if you have never hot-water canned anything in your life, you can do this!  It just may encourage you to try something else later!

    I personally prefer distilled water, but you can store whatever water that you are confortable drinking this way.  It is important to boil whatever water suits your fancy before you hot-water can it!

    Here are the simple procedures that I use to hot water can quarts of water for shelf stability.  I use an electric hot water pot like you would use for making hot water for tea, however, you can boil it in any pan as long as it is not aluminum.

    Wash and clean quart jars

    Sterilize jars in boiling water

    Sterilize lids and rings in boiling water

    Remove hot jars from sterilization and fill with boiling water of your choice

    Put caps and rings on jars

    Put in hot water processor and process covered on a slow rolling boil for 20 minutes

    Remove jars after 20 minutes using jar tongs as these will be "smoking hot"

    Allow them to sit on a towel that has been folded on the counter for 24 hours before moving them

    Store in dark room or cabinet or in a basement where they are not exposed to bright sunlight

    Storing good, drinkable water and having enough on hand gives you such a peace of mind!  I hope you will can up a few of these and put them on your shelf and forget about them unless your family needs these!

    Garlic and Honey Immune Booster

    Garlic and Honey Immune Booster

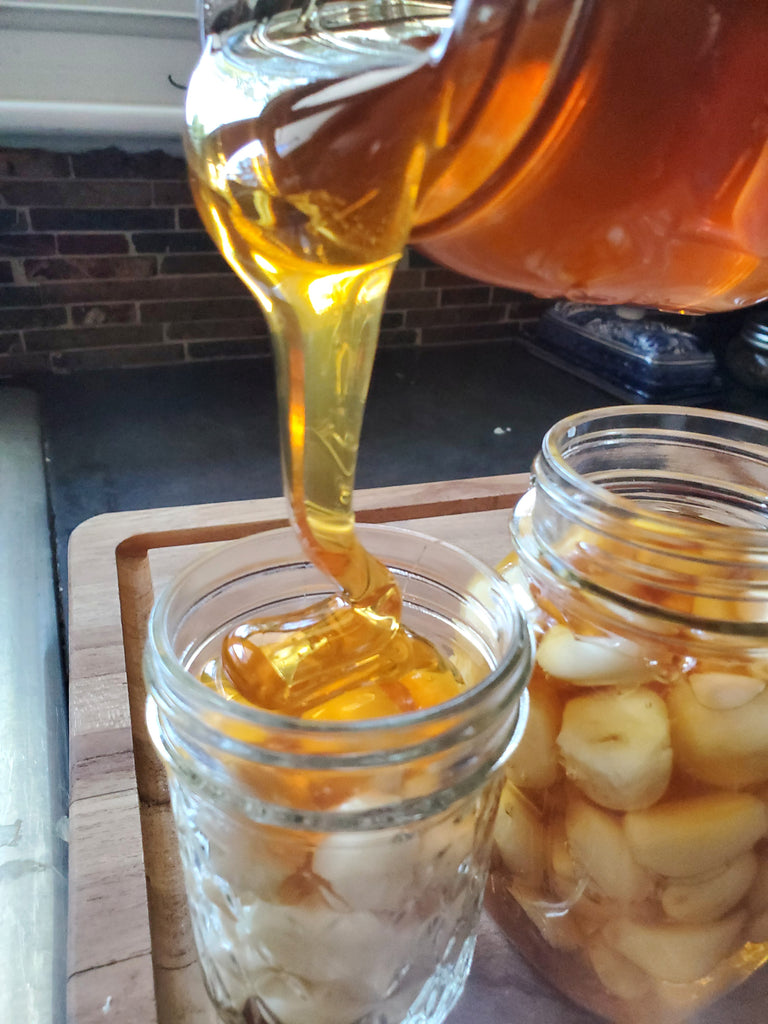
    With cold and flu season quickly approaching, its time to start making fermented garlic & honey. I am not a doctor, however, I am sharing what I use during the winter to help keep my immune system healthy.   For this recipe, you will need organic garlic heads.  Peel the garlic cloves, leaving them whole.  I fill a jar 3/4 way to the top.  It is best if you can find local raw honey.  Fill the jar with honey, leaving a 1 inch headspace at least to allow for the bubbling that will take place as your honey starts to ferment.  Be sure to use enough honey to completely cover the garlic.  Put the lid on tight  so that when you turn the jar upside down and it begins to build up pressure, the honey won't spew out .  Always remember to burp the jar at least once per day until the fermenting process stops.  I turn the jar upside down every other day to be sure that all of the cloves stay covered.

    Keep turning the jar for a few days until it appears that the fermenting process has come to a halt.  This process could take 4-8 days.  At this point, the jar can be stored on the shelf indefinitely.  The longer.....the better!  

    The longer your jar sits, the milder the cloves will become.  Remember that the honey is medicinal as well as the cloves of garlic.  At the first sign of a sniffle, I pop a spoonful of honey along with a garlic clove in my mouth.  It is quite delicious!

    How To Toast Pumpkin Seeds for a Tasty Fall Treat!

    How To Toast Pumpkin Seeds for a Tasty Fall Treat!

    One of my favorite Fall treats are toasted pumpkin seeds!  These crunchy, salty, savory little snacks pack more of a punch than you would expect.  Did you know that pumpkin seeds are loaded with magnesium, contain antioxidants, minerals, unsaturated fatty acids, zinc, vitamin E, phosphorous, manganese, and are high in fiber!  I'll bet that you didn't know that pumpkin seeds are a natural anti-parasitic for humans and animals!   Not to mention, they taste great!

    I used to clean out my pumpkins to make a pie and toss the seeds but not any more! You can just simply eat them toasted for a snack, use them to top a salad, or include them in one of your favorite nutty seed bars for a powerful pick-me-up.  They are super easy to toast.  Here are the simple steps:

    Clean the seeds out of the pumpkin.  They will be mixed with what I refer to as the pumpkin "guts".  These clean off easily by running them under cool water, washing them gently with your fingers over a strainer bowl until all the seeds are clean.  We need to be sure that the seeds are completely dry.  We want these to toast and not steam when we put them in the oven, so I usually let mine sit out on a towel over night just to be sure.

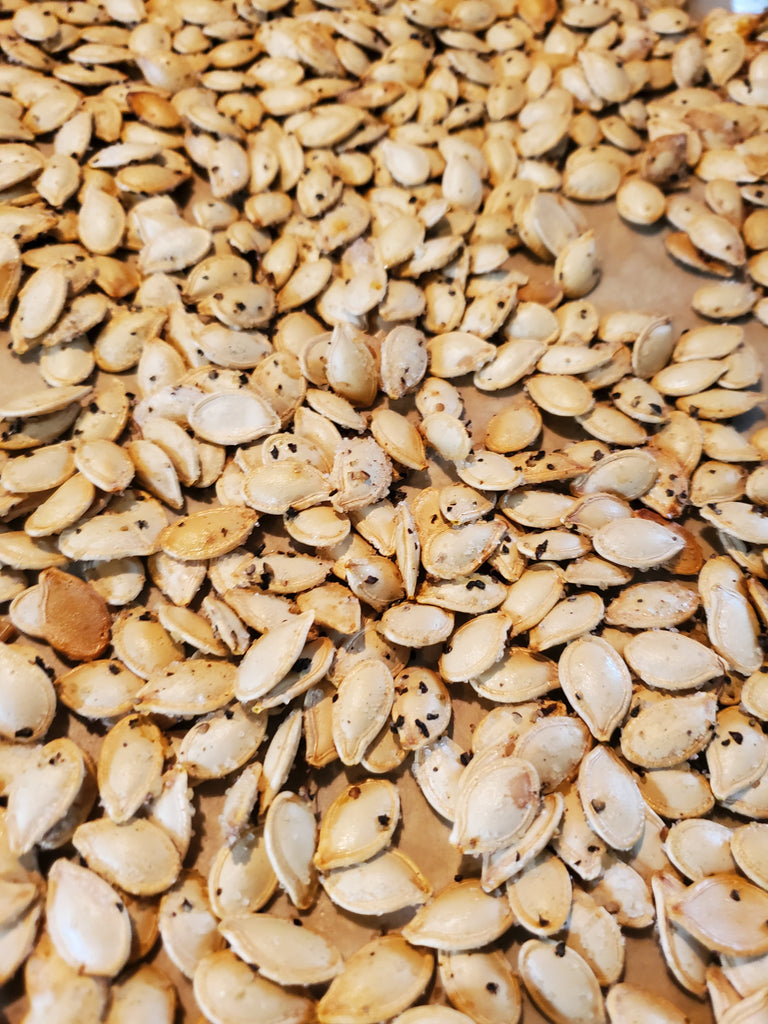
    Next put them in a bowl and toss with 1 tsp olive oil and salt and pepper to taste.  Preheat oven to 350 degrees.  Spread the pumpkin seeds in a single layer on a baking sheet with sides that has been covered with a layer of parchment paper.  Bake until lightly brown.  The amount of time will depend on the amount of seeds and the size of the seeds so baking times will vary.  Mine usually bake for 15-30 minutes.

    Let the seeds cool completely and store in an air tight container. 

    Other toppings for your seeds may include:

    Chili powder, dill, cayenne, Italian Spices or whatever suits your taste buds!